Paint Booth Painted and Assembled
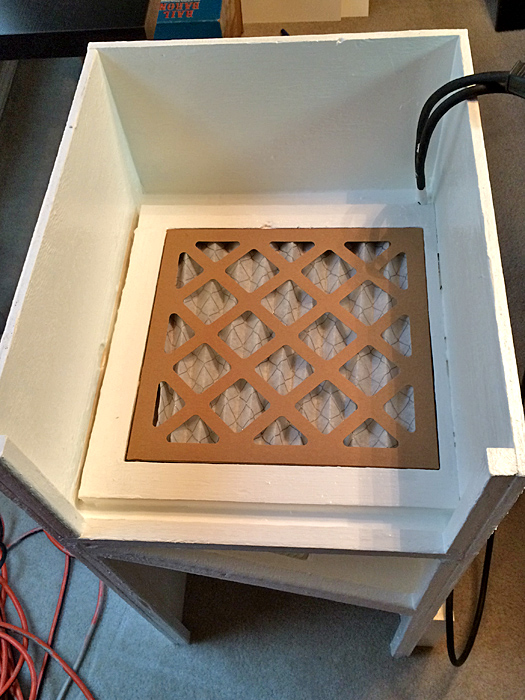
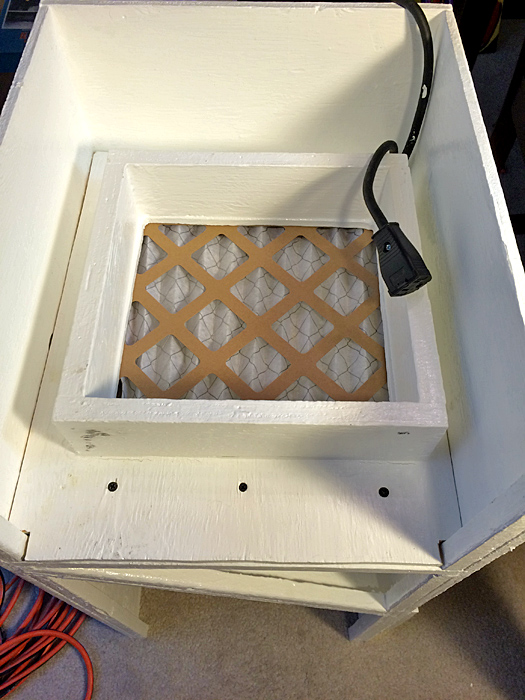
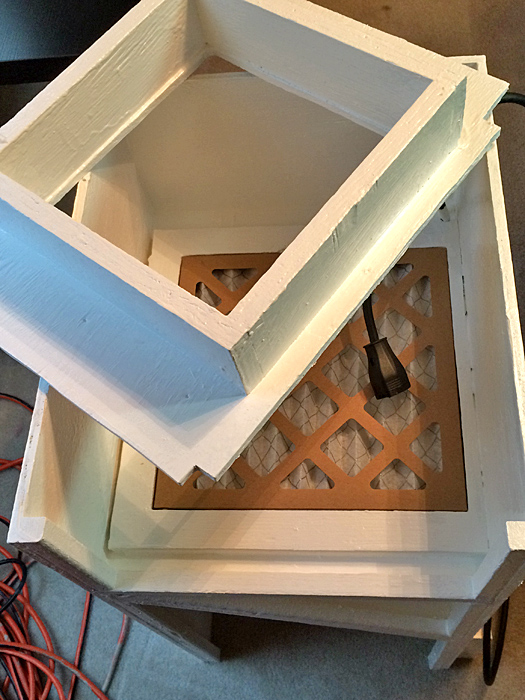
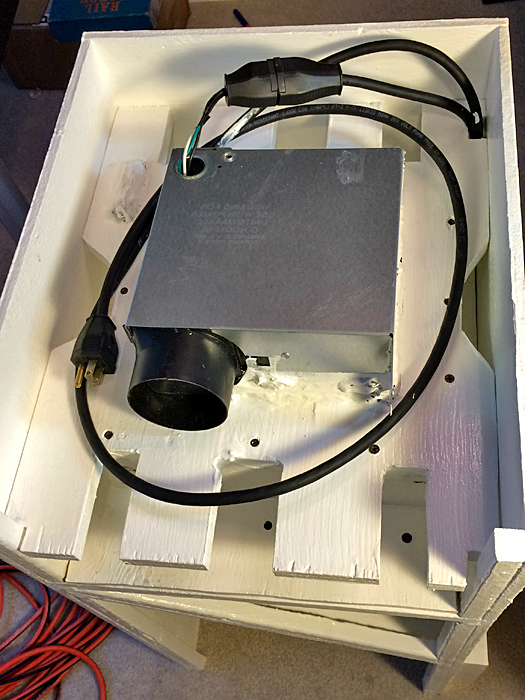
Several cans of primer and house paint left over from previous home projects were used so I did not have to spend any money for paint. First I finished up a can of white primer on all of the components. This took a couple of days to get all of the sides and angles covered. Next, I had a half can of white semi-gloss paint which I applied to all of the components in the same manner. I choose white to intensify the lighting inside the painting chamber and to create a non-biased lighting effect on the objects being painted. The paint was a little old and thick, but worked just fine. I like the heavy utilitarian look. All of the electrical wires and components were sealed with silicone before painting. The thick paint was sufficient enough to cover all of the silicone which has a repellent property to thinner paint. 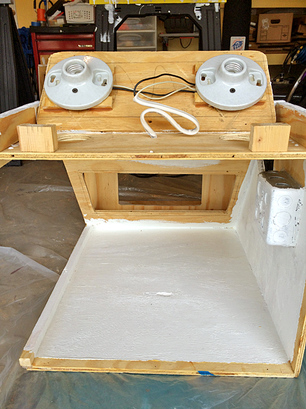 I debated the pros and cons of taking apart the light box and decided to go ahead and disassemble it to paint the inside. The light box sits on top of the front of the painting chamber and serves as an external housing for the porcelain light fixtures for two light bulbs. This takes the wiring and the fixtures out of the painting chamber so that the bulbs are out of the way of the painting process. The porcelain fixtures are mounted upside-down on raised legs on the top panel. It was necessary to put these legs on to allow the wiring access to the fixtures. Of note, the top panel of the light box is cut just a little smaller than the frame it sits in. Also, the two holes in the roof of the painting chamber are cut a little larger than the porcelain light fixtures. The purpose of this is to allow air to flow into the light box from the outside and then into the painting chamber at the base of the light bulbs. When the Paint Booth vent is turned on external air will flow from the inside of the light box into the painting chamber and then into the vent at the back of the paint booth. This current serves two purposes. First it creates a natural cooling airflow around the light bulbs which do generate some heat. Second this flow will carry any lingering vapors in the painting chamber away from the bulbs ensuring that there is not a buildup of flammable vapor around the bulbs. 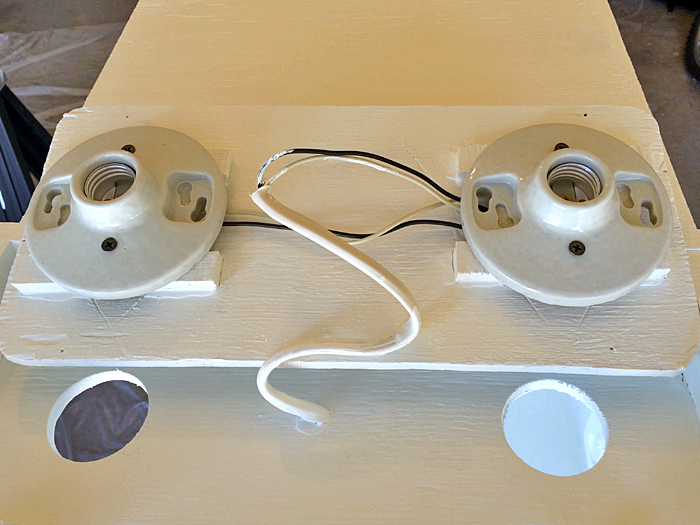 The below slideshow consists of a number of images of the components during this painting process. I did take the time to mask certain things like the switches, outlet, light fixtures and plugs. Four saw horses were placed over a tarp in the garage for painting. Two saw horses supported the main body of the paint booth. Two surplus wooden dowels (thanks to Elfa sales at the Container Store over the years) were placed across the remaining two saw horses to support the other components while being painted. After several days of painting and drying the components were brought inside for reassembly. All of the items fit nicely, though I did need to sand the edges of the reduction chamber as the paint made it to big to seat properly. The first item re-installed was the white air intake grill at the bottom rear of the painting chamber. Six small screws hold this in place. As it came in a white color, this component was not painted. Next the paint booth was stood on-end and the filter, reduction chamber, and fan housing were inserted and screwed in place from the rear.
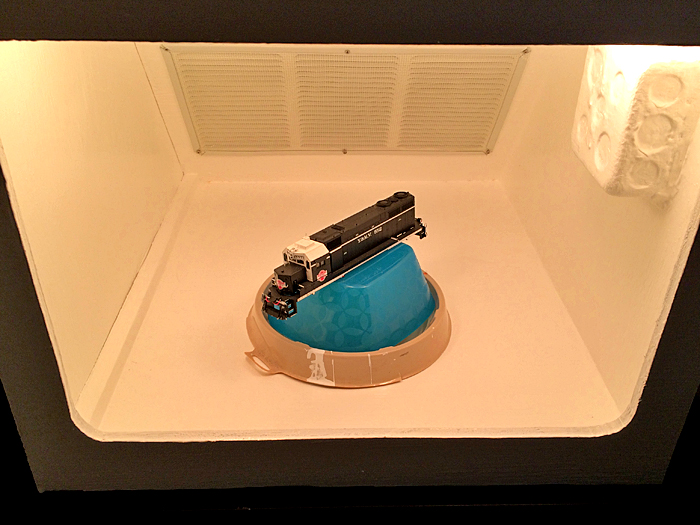
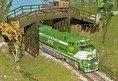
The light switch cover went on next and then the open side panels were screwed into place. The very last thing, of course, was to put in the light bulbs. Plugged in, the lights, fan, and auxiliary switch and socket worked flawlessly. I still have to select, order, and install a turntable for the painting chamber. To test the final effect, I used a paint can drip container and a plastic bowl to simulate the turntable and used the shell of my Y&MV SD35 552 to pose for the below shots: The paint booth project is almost over as just a few things are needed to place it in service. The vent block that will fit into a window frame needs to be constructed and I still need to buy the dryer ducting to connect the fan vent outlet to the window vent block. As painting projects are undertaken and the paint booth gets some use, I am sure mods to make it more user friendly will become evident. Those updates will be posted in this blog labeled with the Paint Booth category.
Chris
0 Comments
Your comment will be posted after it is approved.
Leave a Reply. |
Categories
All
Author:
|
 RSS Feed


Proudly powered by Weebly
- - - Homepage of the Natchez Trace and Orient Railway and Texas and Great Northern Railway - HO Scale Meridian Speedway - Created by Christopher M. Palmieri - - -
© Christopher M. Palmieri - 1st Publish 12-10-2014
© Christopher M. Palmieri - 1st Publish 12-10-2014