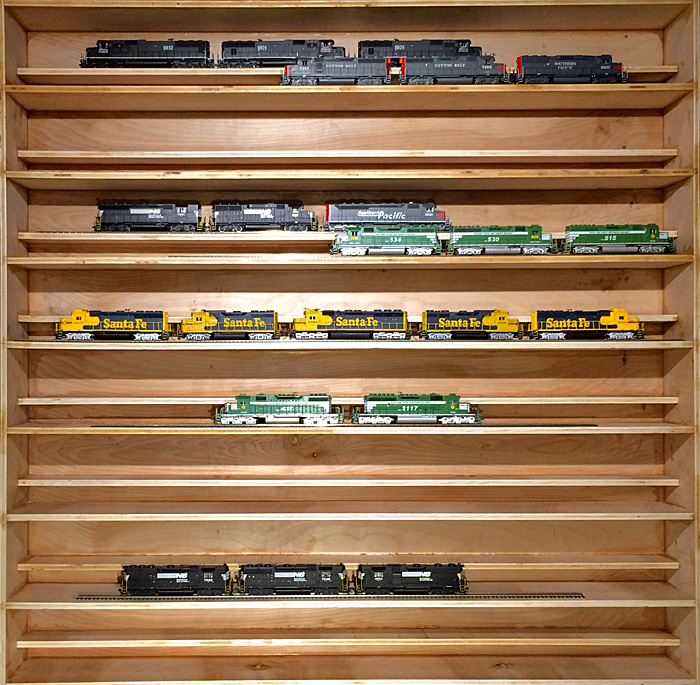
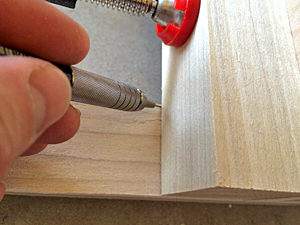
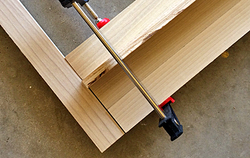
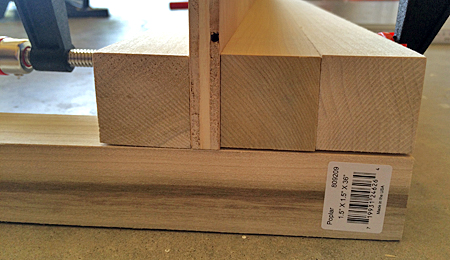
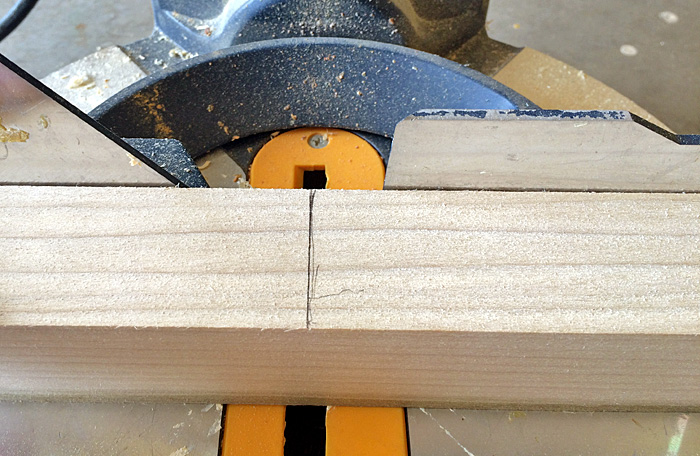
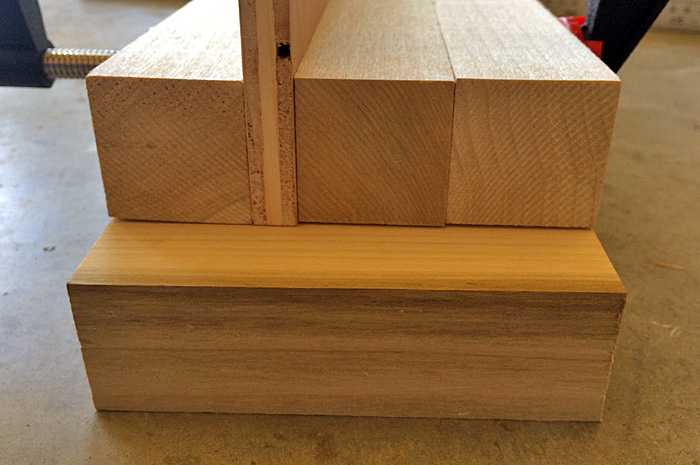
Display Case - Main Construction CompleteIt has been about three months since I started this project. Progress has been slow and steady. I also now own many more clamps than I had before this project began. Of course this is a good thing as a model railroader can never have too many clamps! I managed to squeeze in time to add one or two shelves a week once I figured out a process that worked for me. The image below shows the basic structure complete with some HO locomotives for size comparison. The next steps will be some sanding, filing, and filling. Then the whole thing will be painted white and mounted on a wall in the man cave. Finally comes track installation and then the model occupancy. I am very pleased with the shelf spacing and the overall dimensions of this display case. Each of the sixteen shelves will hold four or five locomotives. This allows for great flexibility when building locomotive consists to show off. This means that the distance between each 6" shelf is 5.5" with the distance between the very bottom two 6" shelves being 5.0". I made Poplar spacers in both 5.0" and 5.5" lengths using wood clamped together as a guide. The images above and below depict the measuring and cutting process for the 5'0" spacers. Next began the process of installing the shelves. The outer vertical 6" sides were placed first. The back of the display case was also warped with the center between the vertical side pieces bowing upward. I decided it would be best to then start from the very bottom and work upward with shelf installation. Using the spacers and lots of clamps, each shelf and the main structure were straightened out. Moving in this upward direction sort of mimicked the action of a zipper, straightening and closing the display case as progress was made. Each shelf was test fit and the outline traced on the back and side pieces. Then each shelf was removed and guide holes for screws were drilled out in outlined area. Finally a thick bead of Tightbond III wood glue was placed within the traced area. Again, using spacers and clamps, each shelf would be reinstalled and screwed into place. The slideshow below shows the progress of shelf installation from bottom to top. Once all of the shelves had been installed and set, I decided to take the display case off the saw horses and orient it vertically to see for the first time how the structure would appear on a wall. Of course I had to put a few locomotives on to get the full visual effect. The images in the slideshow below depict this temporary setup. I have to say I am pretty excited about the way it is turning out! Chris
0 Comments
Your comment will be posted after it is approved.
Leave a Reply. |
Categories
All
Author:
|
Proudly powered by Weebly
- - - Homepage of the Natchez Trace and Orient Railway and Texas and Great Northern Railway - HO Scale Meridian Speedway - Created by Christopher M. Palmieri - - -
© Christopher M. Palmieri - 1st Publish 12-10-2014
© Christopher M. Palmieri - 1st Publish 12-10-2014

 RSS Feed


