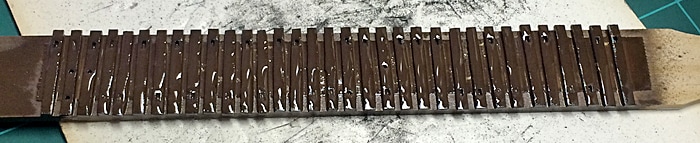
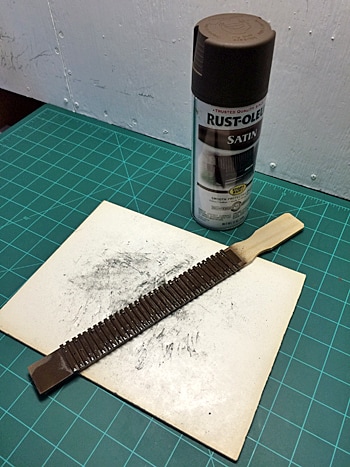
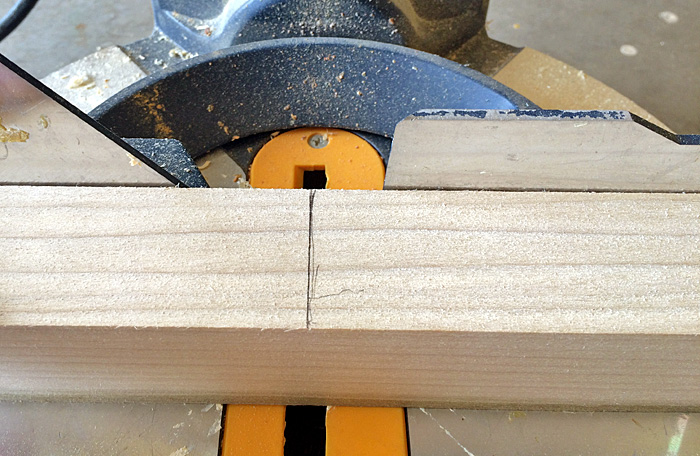
Last Track Glued Today - Case Closed... 1-24-2017Almost five months after my locomotive display case project was conceived and begun, I am able to declare the project completed. Much work has been done since the last update on 11-25-2016. I figured I would go through a number of steps in this final post rather than have a bunch of incremental updates. 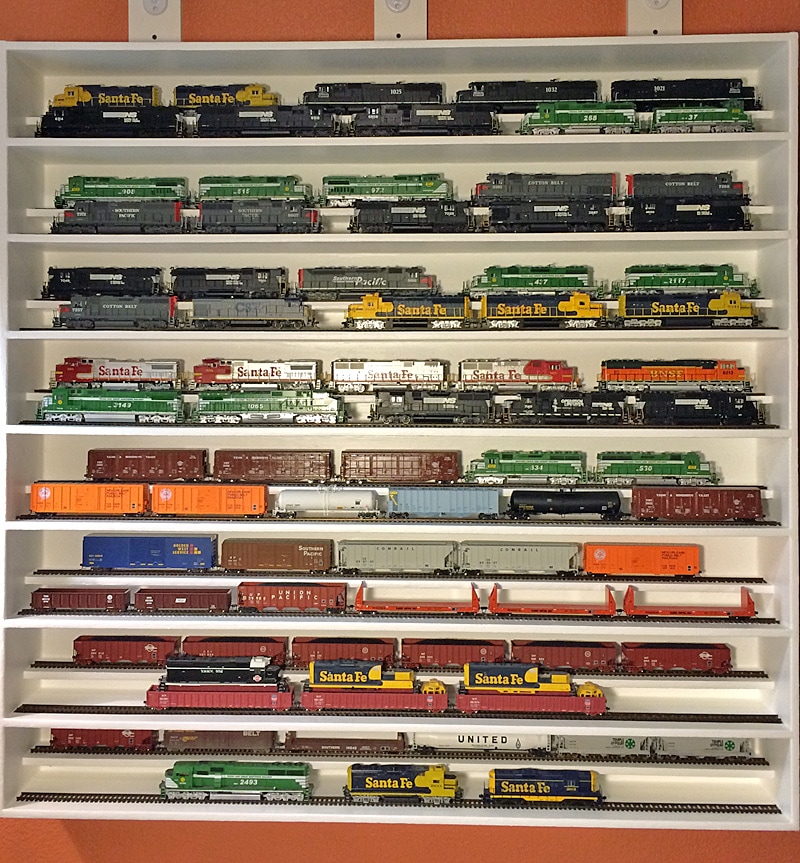 The image above shows the completed display case as of today. The top eight shelves demonstrate that it is easy to get five locomotives on each shelf. At full capacity this display case will be able to hold 80 locomotives! 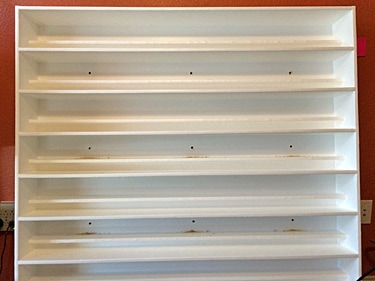 As of the last update the main structure was completed, all 16 shelves had been installed. This was a major milestone. Several weeks were spent painting the structure white. I first painted it with a gloss white, but I decided that that would reflect too much light during photography. The final cote of paint was Behr Premium Plus Ultra Interior Eggshell Enamel - Ultra Pure White 2750. I found this finish to be quite satisfactory. During the painting process I would rotate the shelf every few days and just paint the horizontal surfaces. This minimized any paint running and made for a smooth finish. Of course there was much filling and sanding. The last of the painting was completed around the New Year and by January 2nd, 2017 it was brought into the Man Cave and mounted to the wall. Using cork roadbed and my stud finder, I made a template of the the stud position and pre-drilled nine holes in the back of the display case to assist with mounting. Once lifted into position, it was very easy to drill the holes and fasten to the wall using bolts and washers. These shelves are not going anywhere! 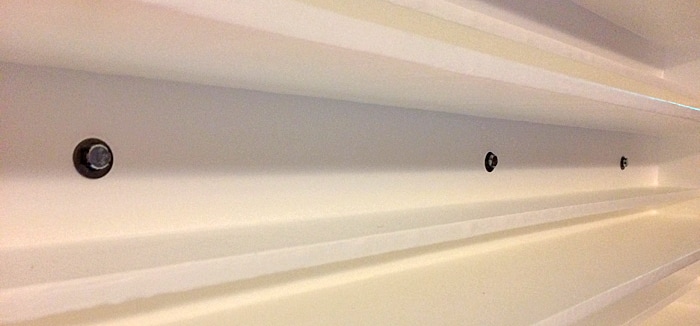 A little white paint camouflaged the bolts and washers nicely. I really like the clean lines of this structure. 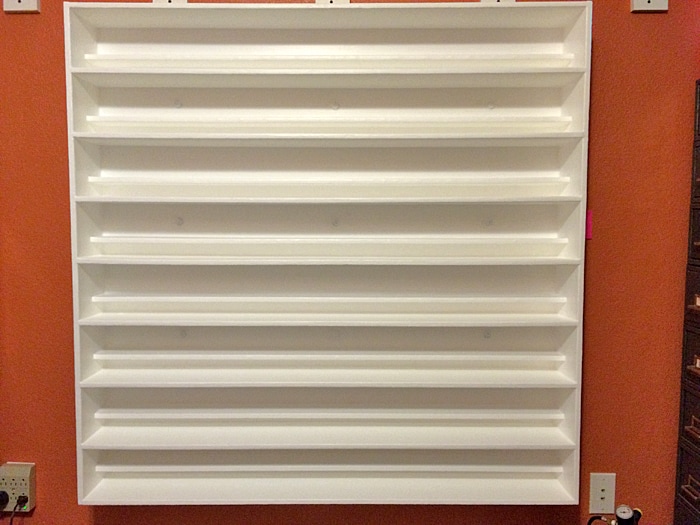 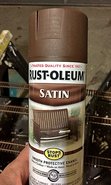 Next I focused attention on the tracks. I have a supply of Atlas Code 100 Flex Track so I chose to go with this. The tracks come in three-foot lengths, so I would have to do some cutting and make 16 four-foot tracks. I decided to paint the track using Rust-Oleum aerosol cans of Satin Dark Brown Smooth Protective Enamel. I had some trouble keeping the tracks together during painting. Since these tracks are for display only and will not be hooked up to electricity I just used some Krazy-Glue at the joints and that did the trick nicely! 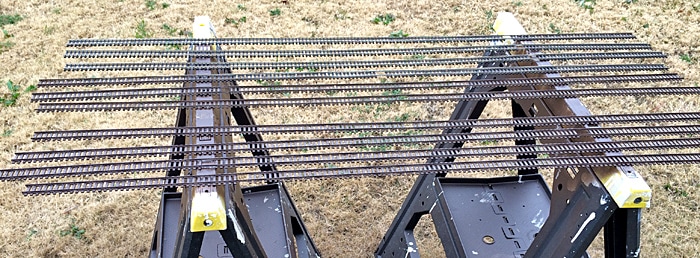 Each track received two cotes of paint, the second cote being applied a couple of days after the first cote. This paint covered the track quite nicely. Next I cut and filed 32 crossties to fill the gaps under the rail joiners where the tracks were put together to make the four foot lengths look seamless. Using a strip of double-sided tape, I lined the ties up on a Home Depot paint stirrer stick to facilitate painting. A quick pass of the trusty Rust-Oleum made easy work of this step.
 A little Krazy Glue fastened the ties in position on each track. Now it was time to tackle the final step: gluing the tracks to the shelves. I made the mistake of using a bead of Liquid Nails adhesive from a caulking gun for the first track. Though I thought I had spread the glue rather thin, it did push up between the ties too much. To salvage this track I thought I would mask around the track and paint a solid strip of brown. 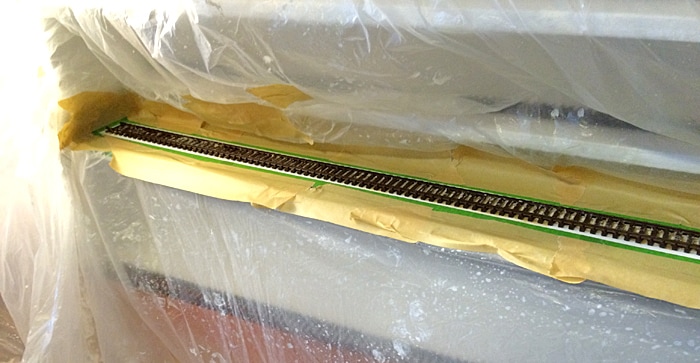 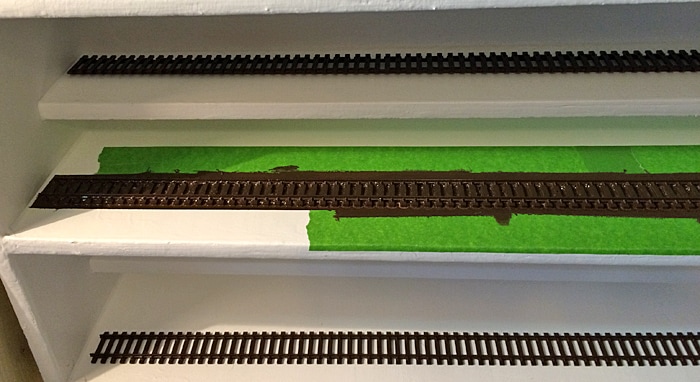 Though I kind of liked the appearance of the track in a solid brown strip, I decided that this masking and spraying in the house was a bit more work than I really wanted to do. I experimented on a few more adhesives and finally chose a tube of Loctite Pro Line Marine Adhesive Sealant. This material was conducive to being applied to the bottoms of each tie. I did not apply this adhesive to about 7 or 8 ties on each four-foot track segment. These ties spread evenly across the track segment got a bead of Loctite superglue gel to help quickly lock each track into place while the Marin Adhesive cured. Wood spacers made easy work of positioning the tracks on each shelf. After positioned properly, I would clamp a piece of wood on top of each track to press them firmly into place while the adhesive cured. 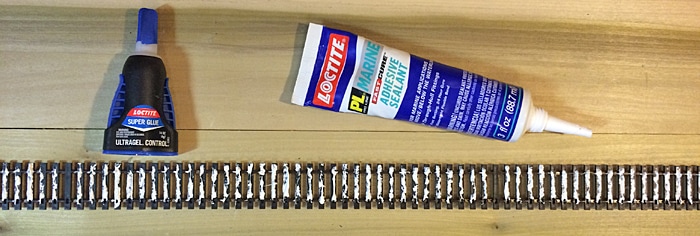 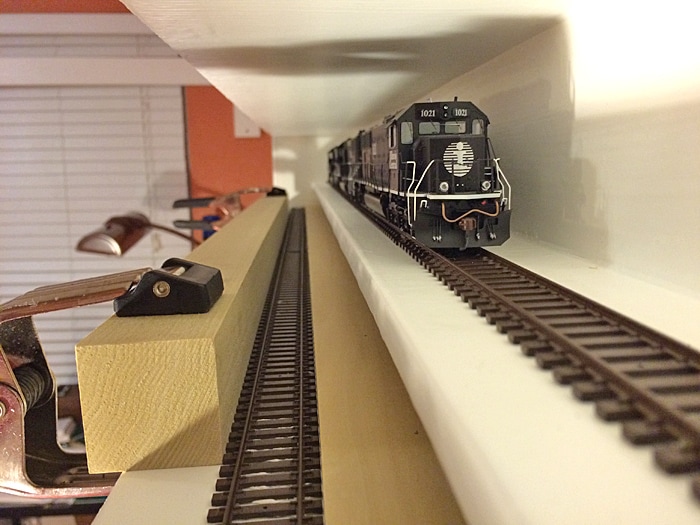 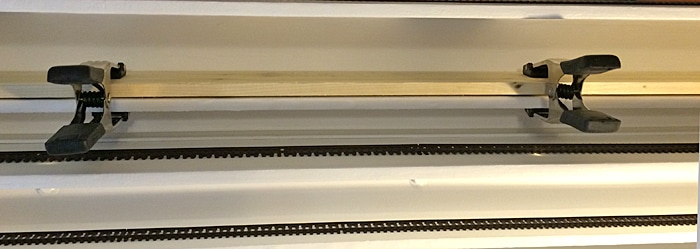 And so today the last four tracks were installed! I am quite pleased with the way this project came together. This is a great addition to the Man Cave and it is something that I can easily take with me when I move! 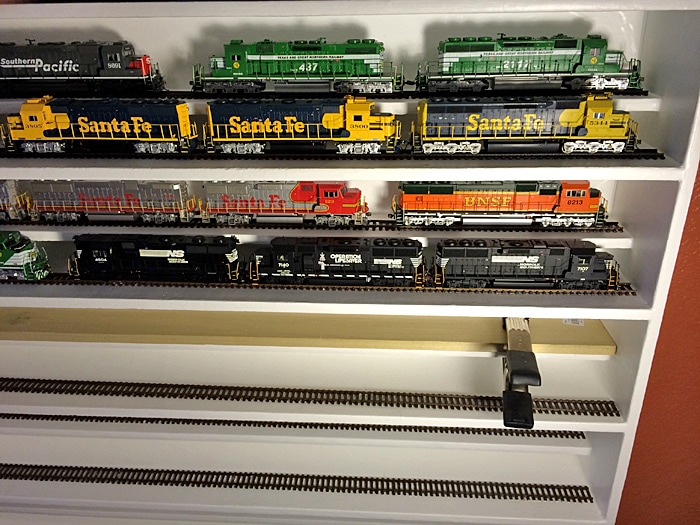 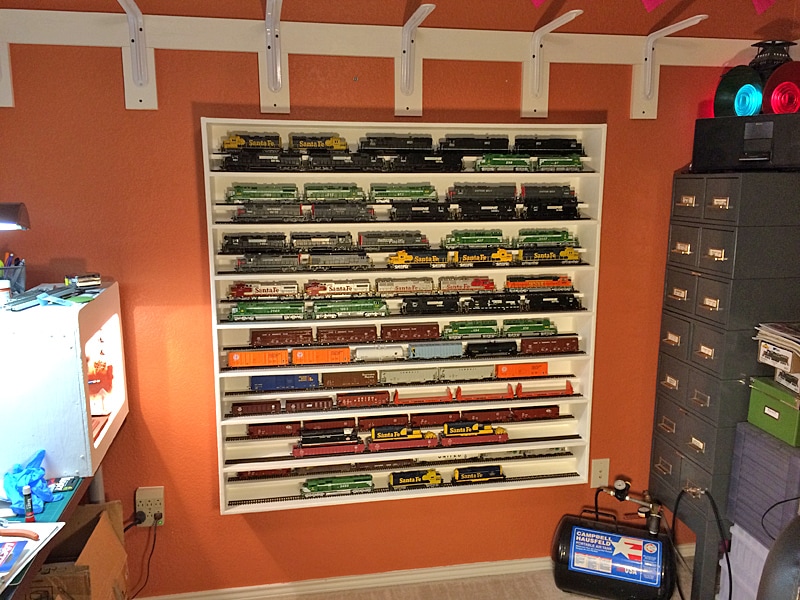 Chris
1 Comment
Display Case - Main Construction CompleteIt has been about three months since I started this project. Progress has been slow and steady. I also now own many more clamps than I had before this project began. Of course this is a good thing as a model railroader can never have too many clamps! I managed to squeeze in time to add one or two shelves a week once I figured out a process that worked for me. The image below shows the basic structure complete with some HO locomotives for size comparison. The next steps will be some sanding, filing, and filling. Then the whole thing will be painted white and mounted on a wall in the man cave. Finally comes track installation and then the model occupancy. 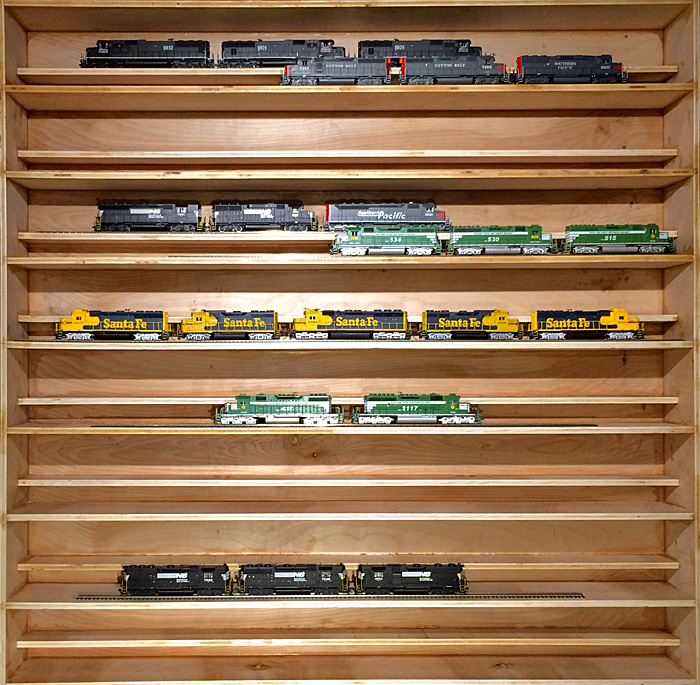 I am very pleased with the shelf spacing and the overall dimensions of this display case. Each of the sixteen shelves will hold four or five locomotives. This allows for great flexibility when building locomotive consists to show off.
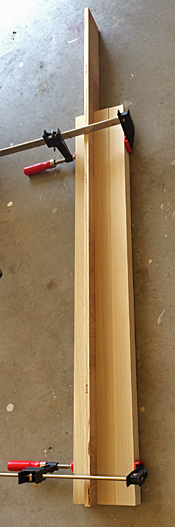
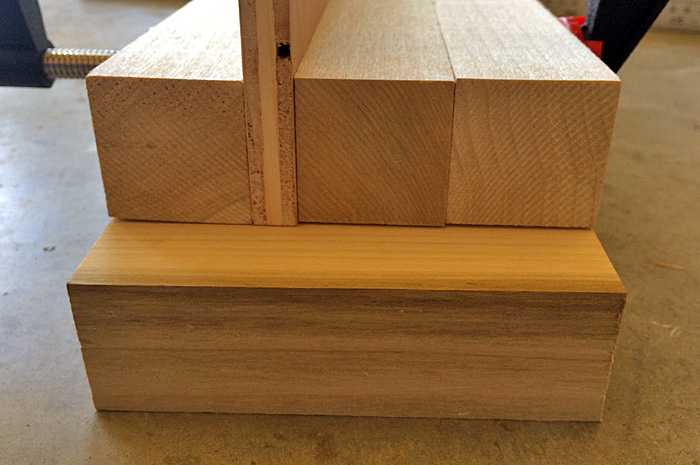
This means that the distance between each 6" shelf is 5.5" with the distance between the very bottom two 6" shelves being 5.0". I made Poplar spacers in both 5.0" and 5.5" lengths using wood clamped together as a guide. The images above and below depict the measuring and cutting process for the 5'0" spacers.
Next began the process of installing the shelves. The outer vertical 6" sides were placed first. The back of the display case was also warped with the center between the vertical side pieces bowing upward. I decided it would be best to then start from the very bottom and work upward with shelf installation. Using the spacers and lots of clamps, each shelf and the main structure were straightened out. Moving in this upward direction sort of mimicked the action of a zipper, straightening and closing the display case as progress was made. Each shelf was test fit and the outline traced on the back and side pieces. Then each shelf was removed and guide holes for screws were drilled out in outlined area. Finally a thick bead of Tightbond III wood glue was placed within the traced area. Again, using spacers and clamps, each shelf would be reinstalled and screwed into place. The slideshow below shows the progress of shelf installation from bottom to top. Once all of the shelves had been installed and set, I decided to take the display case off the saw horses and orient it vertically to see for the first time how the structure would appear on a wall. Of course I had to put a few locomotives on to get the full visual effect. The images in the slideshow below depict this temporary setup. I have to say I am pretty excited about the way it is turning out! Chris
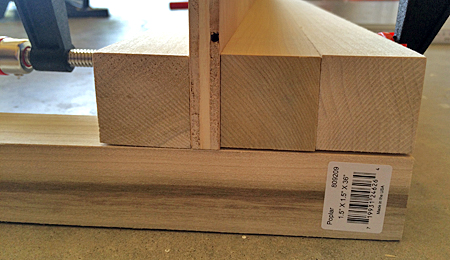
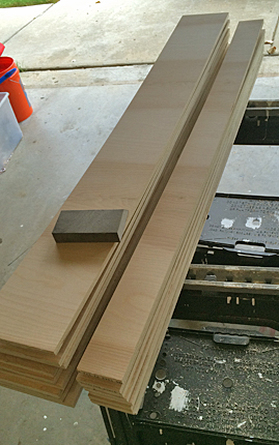
Display Case Construction - Design and AcquisitionAs if I do not have enough open projects, I have decided to build a display case to mount on a wall of the man cave for my growing locomotive fleet. It just is not satisfying to have a fleet of locomotives in boxes, I want to see them! Some thought went into the design. I decided that I wanted the shelves to be two-tiered. I used some half-inch thick pieces of wood to experiment with spacing. The final verdict: each back shelf would sit 1 1/2 inch above the front shelf. These shelves would be three inches wide and the main shelves would be six inches wide.  There will then be three-and-a-half inches between the top of each recessed three-inch shelf and the bottom of the next six-inch shelf. To Home Depot I went to purchase lumber. I got two 4'x8' sheets of half-inch thick Birch plywood. I had them rip them into pieces of the following dimensions: 1 piece - 48"x49" - this will be the back of the case 11 pieces - 48"x6" - these are the outer frame and the 6" shelf inserts 8 pieces - 48"x3" - these are the recessed shelves
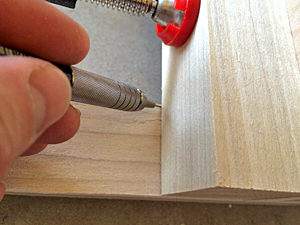
As expected, the cuts from Home Depot created some rough edges that would need to be sanded. A three-pack of fine grit sanding pads from the paint department did the trick!  The 48"x49" dimension of the back piece was chosen so that all of the remaining pieces could be made from 48" strips of wood. By making the display case 49" wide, the outer vertical pieces, 1/2 inch wide, would leave 48" in-between that all of the shelves would fit into. 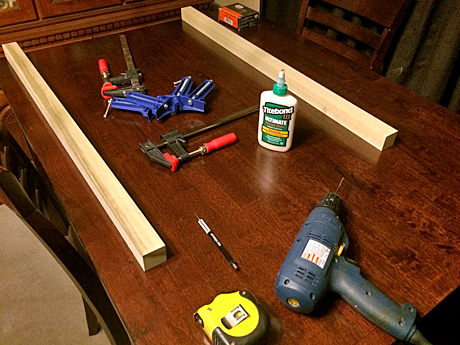 lWith enough clamps and the Poplar braces the warped strips of wood were easy to corner and connect. First I test fit and clamped the wood pieces together. Once clamped properly, I traced the outline of the shelf onto the back piece. After removing the clamped piece I would drill pilot holes in the outline on the back board to guide screw installation. Then I applied a healthy bead of wood glue to the outlined area and re-installed the shelf, clamping it securely in place. Once satisfied with the position of the piece being added, I drilled into each shelf using the pilot holes as guides and then screwed them in place. 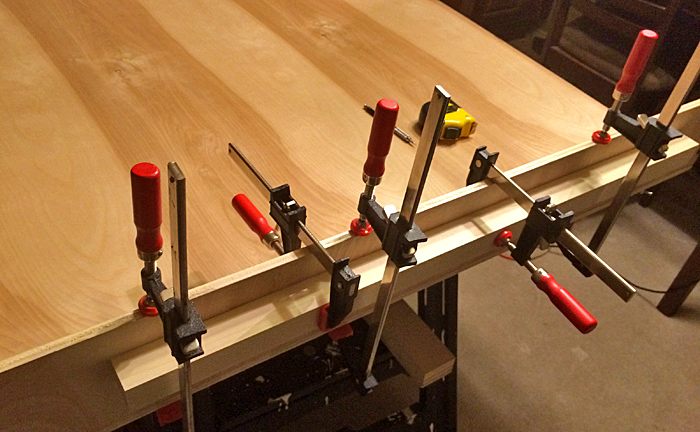 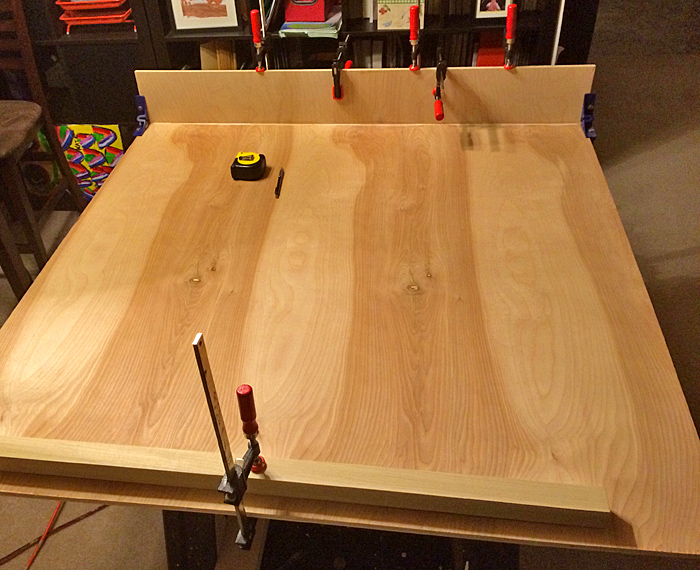 More to come...
Chris |
Categories
All
Author:
|

 RSS Feed


Proudly powered by Weebly
- - - Homepage of the Natchez Trace and Orient Railway and Texas and Great Northern Railway - HO Scale Meridian Speedway - Created by Christopher M. Palmieri - - -
© Christopher M. Palmieri - 1st Publish 12-10-2014
© Christopher M. Palmieri - 1st Publish 12-10-2014